When you try printing something from your computer or laptop and your printer won’t print it or you see an error on the printer queue, this is most likely because your printer is offline. Sometimes your printer will alert you of this as well with a message on its LCD screen. Here are the steps to getting an offline printer back online.
Troubleshooting Steps:
1. First thing you do is turn off your printer, unplug it, and then after a minute or so plug it back in and turn it on.
2. Check if the printer is connected to your Wi-Fi network.
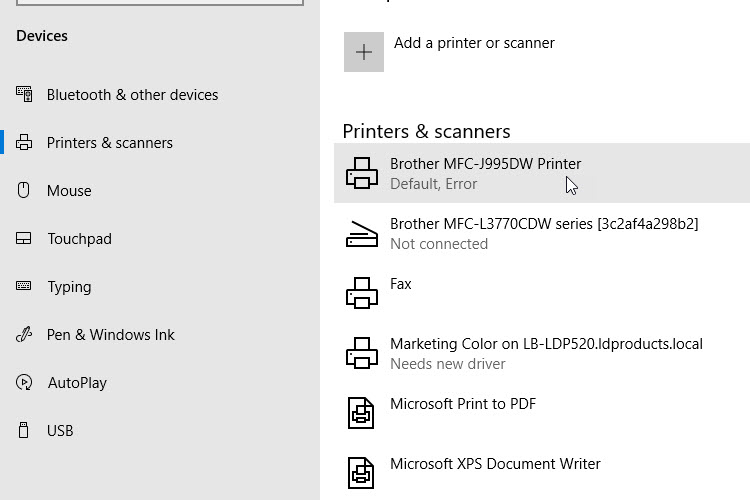
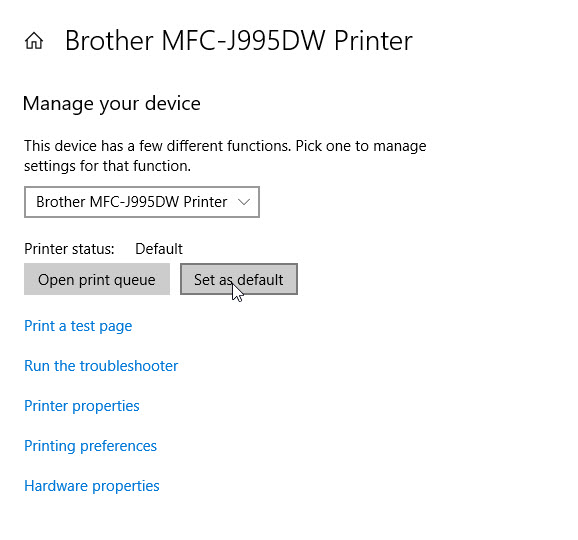
3. If you’re using Windows, click on the Window icon, go to Settings > Devices > Printers and Scanners. Right click on your printer and set it as the Default Printer.
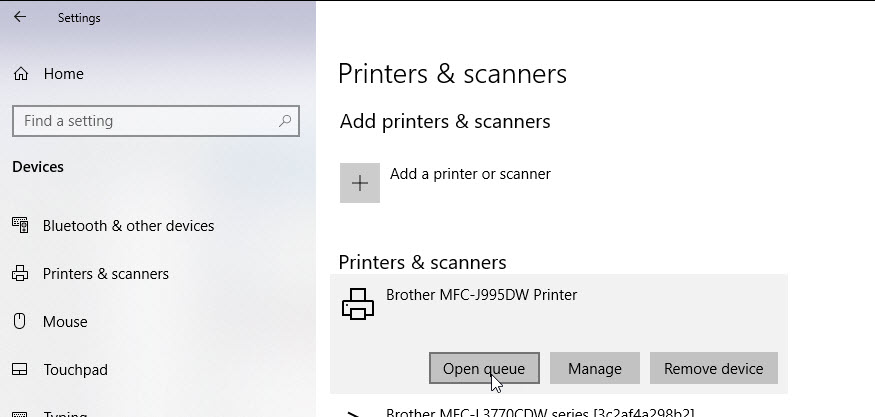
4. On the Printer and Scanner window, click on your printer, and then the Open Queue button.
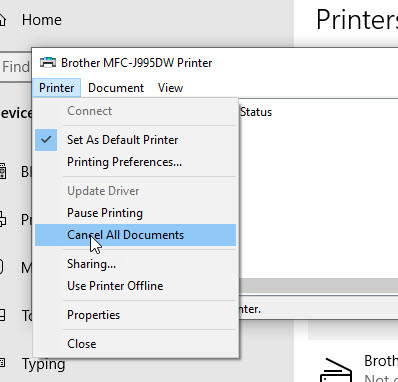
5. Press Printer, and from the list, click on Cancel All Documents to clear the queue.
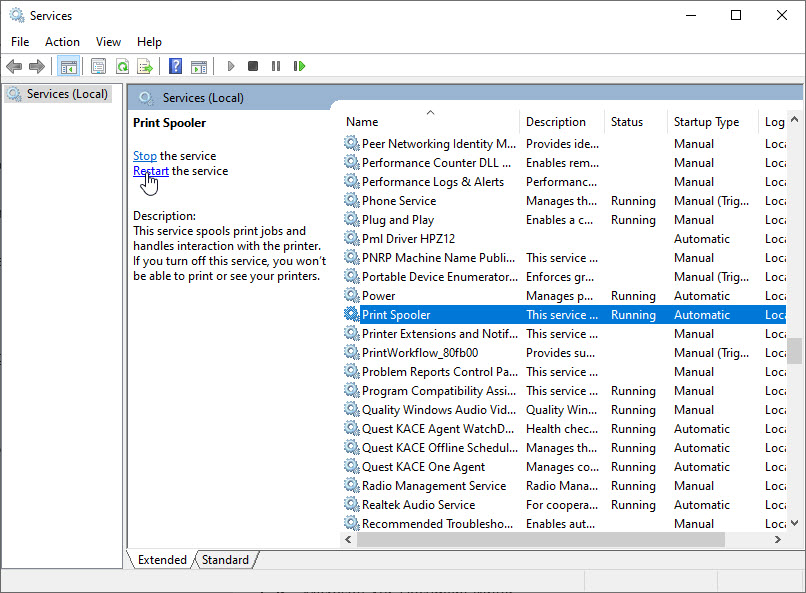
6. Next you have to reset the service that manages the printing queue. Go to the Windows icon again, then go to Services.
7. From the Services window, look for PrintSpooler then click on it. Click on the Restart link to restart the print spooling service.
8. Next, go back to the Printers and Scanners window, select your printer, then click on the Remove Device button.
9. Before reinstalling your printer, double check to make sure the printer is connected to the same Wi-Fi as your computer or device. If your printer and computer are on separate networks, there’s a chance they won’t work together.
10. Reinstall your printer. On the Printers and Scanners window, click on Add Printer.
11. Select your printer, then click on the Add Device button. Once it’s ready, click on the printer and make it your default printer.
12. Try printing something.
And that should fix it! This solution worked for me and I hope it does for you too. If you have any suggestions, questions, or comments, please leave us a note below.







Leave a Reply